🔒 Security Reminder: SecuX will never ask for your 24-word recovery phrase.
Looking for help?
Find answers to your questions
- 1. Before You Start
- 2. Beginner Safety Guide (Safety and Security Information)
- 3. Set up a New V20 Wallet
-
Device Functions
DApps / Platforms
- Buy Crypto on Coinify on Web
- Connect to MetaMask Using QR-based
- Send or Swap Crypto Using MetaMask
- WalletConnect for DApps
- Withdraw from Binance to SecuX on Web
- Withdraw from Coinbase to SecuX on Web
- Assign and Remove a FIO Crypto Handle
- FIO Request
- Register a FIO Crypto Handle
- Register a FIO Domain
- Renew a FIO Domain
- Send to a FIO Crypto Handle
- Ada Portal — WEB
- Manage EVM Chains
- Receive Funds on SecuXess
- Send Funds on Web
- Send NFTs on SecuXess
- Add Accounts on Mobile
- Add Accounts on SecuXess
- Manage ERC-20 Tokens on Web
- Manage Tokens on Web
- Manage TRC-10/ 20 Tokens on Web
- 1. Before You Start
- 2. Beginner Safety Guide (Safety and Security Information)
- 3. Set up a New W10 Wallet
- 4. Connect W10 to Computer via USB
-
Device Functions
DApps / Platforms
- Buy Crypto on Coinify on Web
- Withdraw from Binance to SecuX on Web
- Withdraw from Coinbase to SecuX on Web
- Ada Portal — WEB
- Manage EVM Chains
- Receive Funds on SecuXess
- Send Funds on Web
- Send NFTs on SecuXess
- Add Accounts on SecuXess
- Manage ERC-20 Tokens on Web
- Manage Tokens on Web
- Manage TRC-10/ 20 Tokens on Web
- 1. Create a New Wallet
- 2. Safety Guide
- 3. Device Setting
- 4. Download App
- 5. FCC Statement
-
DApps
NFTs
- Add to Favorites
- Display NFTs on Wallet
- Hide NFTs
- Manage NFT Gallery on SecuX Wallet App
- Receive NFTs
- Send NFTs
- Share NFTs
- View and Manage NFTs
- Add a New Wallet
- Connect / Disconnect Device
- Edit Wallet Name
- Firmware Check
- Remove Wallet
- Switch Wallet
- Blockchain Questions
- Crypto support
- Device Setup
- How SecuX’s NFT Wallet is Absolutely Changing NFT Storage Forever
- How to Store Shiba Inu Tokens in a SecuX Hardware Wallet
- Introducing SecuX’s Steel Crypto Wallet: The ‘X-Seed’
- Manage Solana (SOL) and Solana SPL tokens on SecuX V20, W20 and W10.
- Payment / Order / Shipment
- Security Questions
- SecuXess / SecuX Mobile App
- Send / Receive / Transactions
- Transaction / Network Fees
- USB / Bluetooth Connections
- Wallet and Device Issues
Table of Contents
Add Accounts on SecuXess
Table of Contents
We will guide you step-by-step on how to add cryptocurrency accounts on the SecuXess Web App.
What are Accounts?
1. To start receiving and storing cryptocurrencies, you need to create accounts.
2. Different cryptocurrencies require separate accounts.
3. Connect your device to SecuXess via Bluetooth or USB connection.
For ERC-20 tokens, you need to first create an Ethereum account, and use the Ethereum account to receive the ERC-20 tokens.
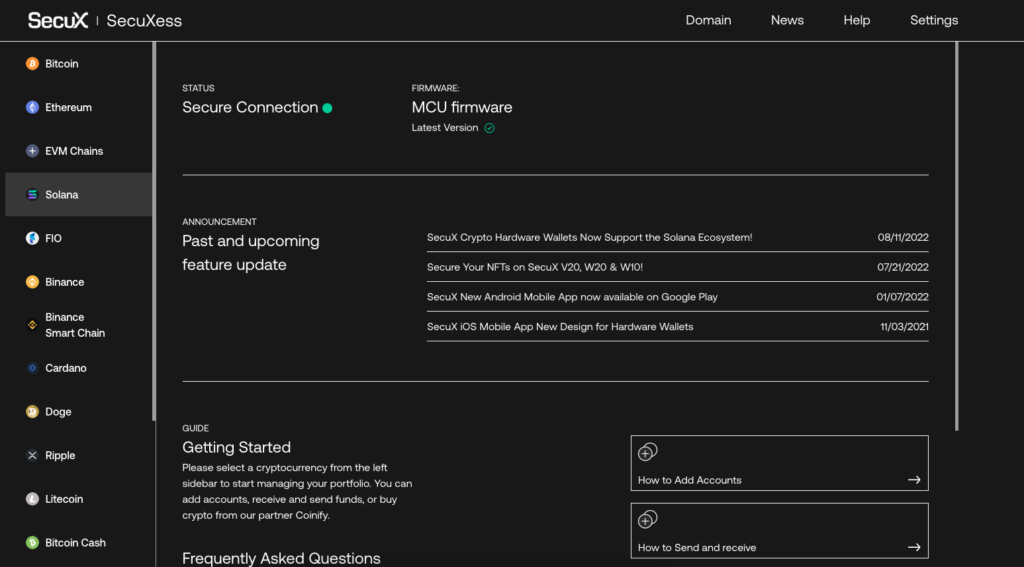
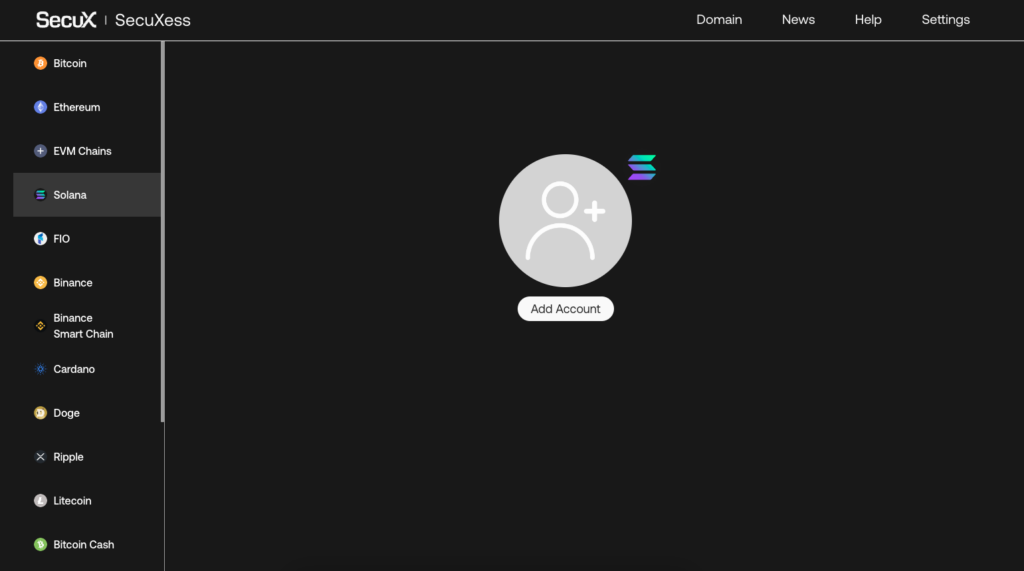
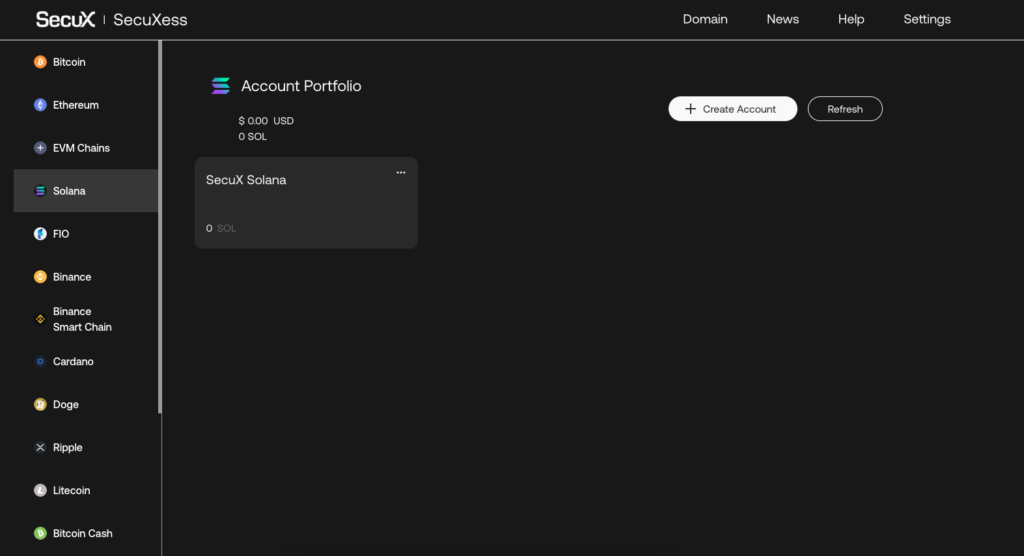
Add Accounts
1. Select the blockchain network you wish to create an account on the left menu bar.
2. Click on Add Account.
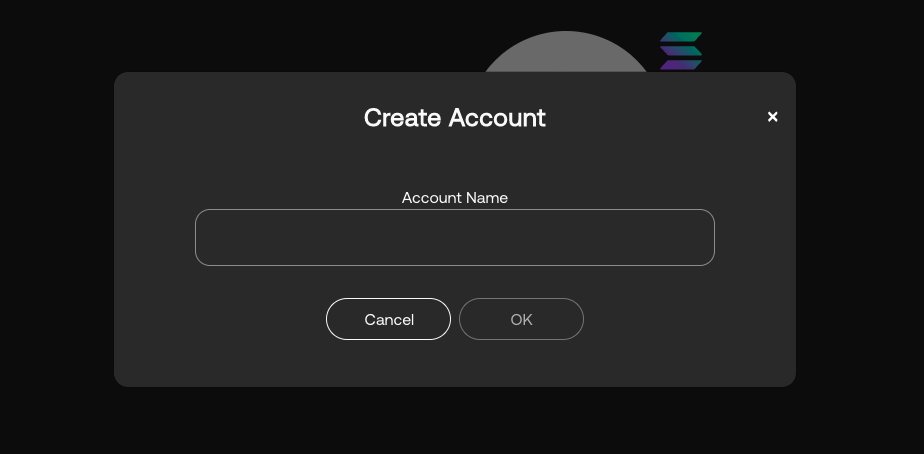
Account Name
1. Enter 1-15 upper and lowercase English letters as your preferred name for the account.
- ie. My BTC
- ie. SOL savings
Manage Accounts
1. Once the account is set up, you can view the balance, edit the name or delete it.
2. You can add more accounts by clicking Create Account in the top right corner.
3. You will not be able to add new accounts if there is no transaction history in the account you last opened.
4. If the account you attempt to delete has transaction history, even though the balance is zero now, it CANNOT be deleted as any data that has been verified and added to a block cannot be altered or deleted.
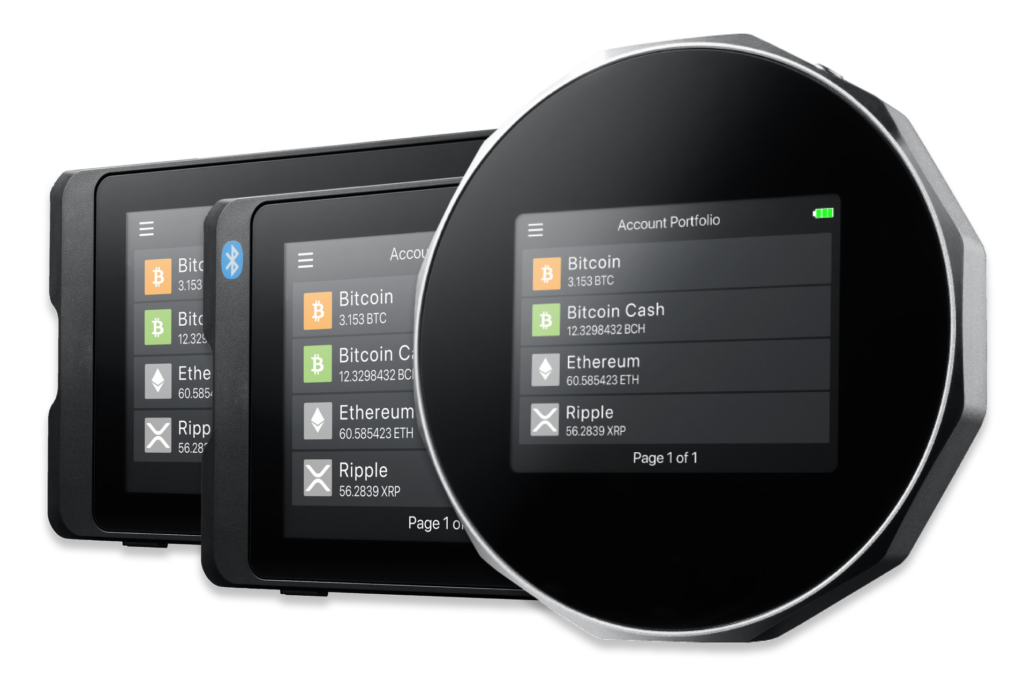
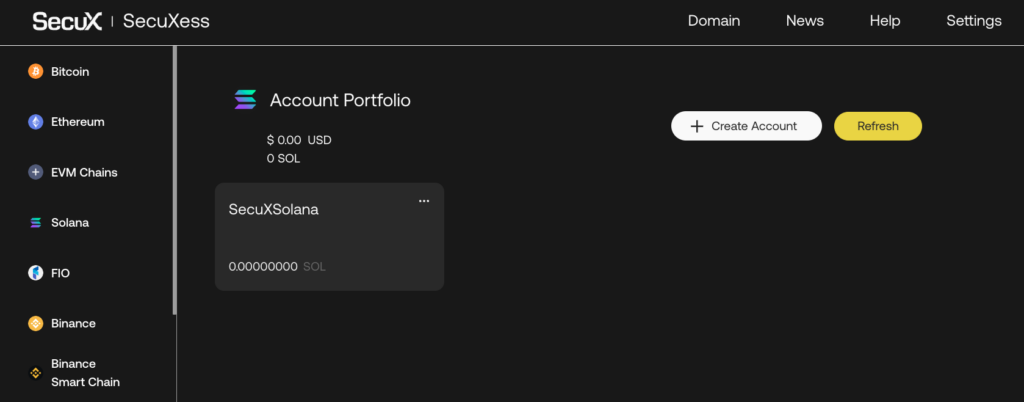
Sync Account Information
1. Your account information will be synced to and appears on your device.
You can click on Refresh button to manually sync info.
2. Disconnect or power off the device anytime to exit SecuXess.
Updated on 05 Feb 2026
What are your Feelings?
Thanks for your feedback.
Get 10% OFF
Sign up for our newsletter to receive 10%OFF and more discounts and offers!